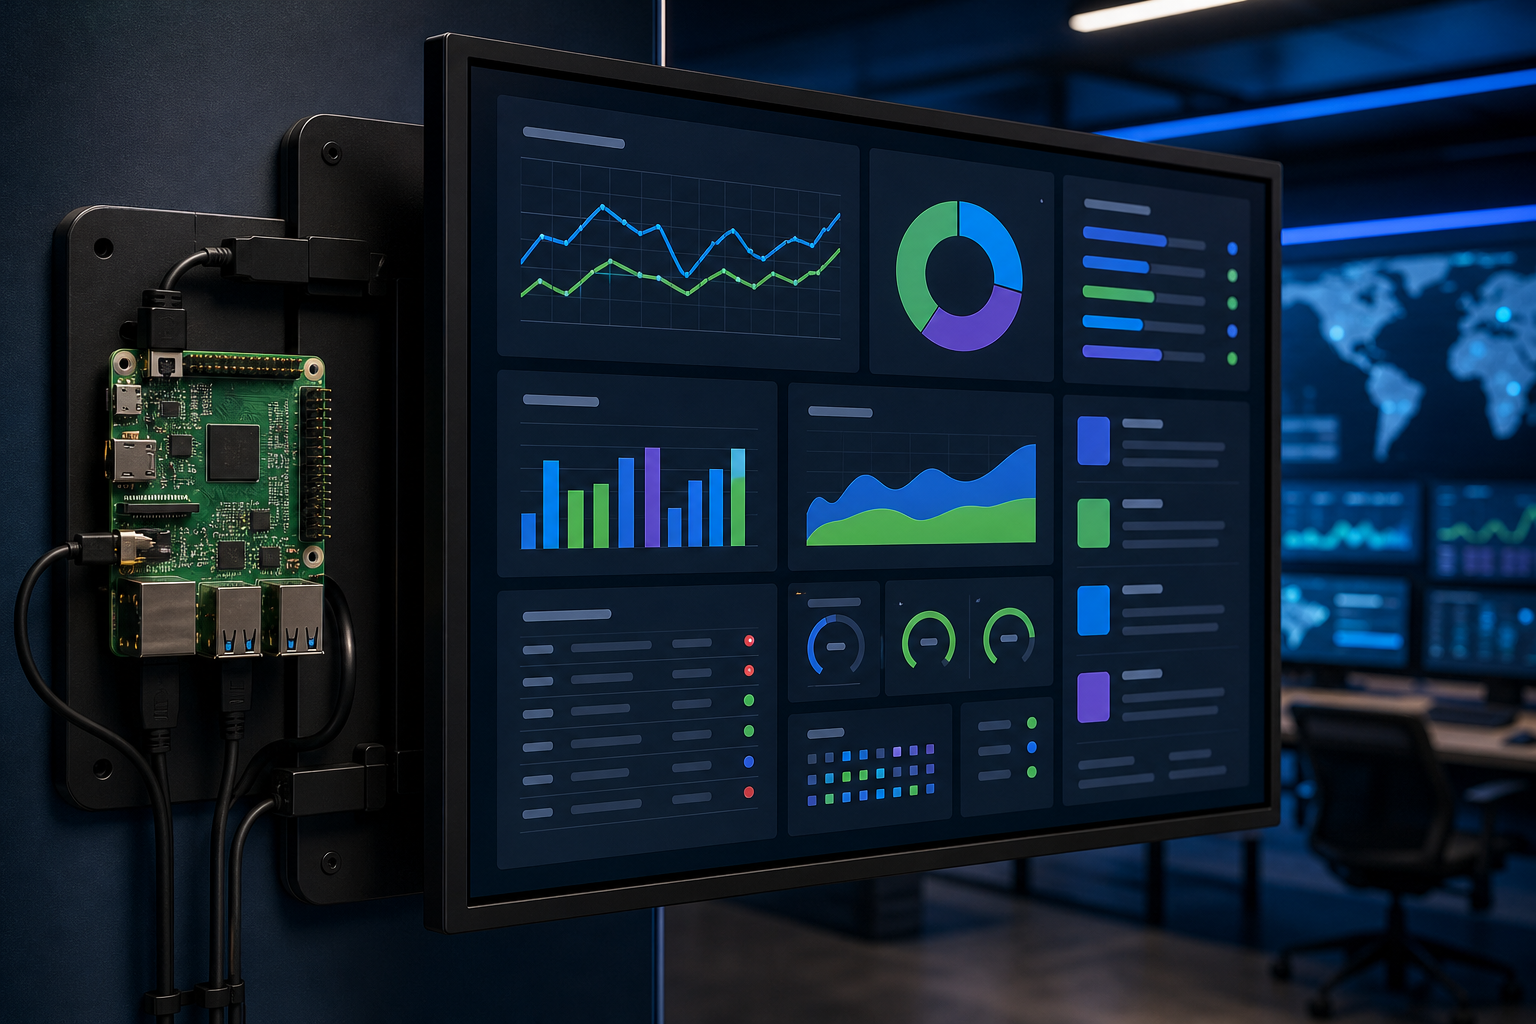
A Raspberry Pi can be an appealing way to power a dedicated dashboard display or signage screen: it is small, quiet, and designed to connect to a monitor or television. But the hardware is only one part of a reliable deployment. The important question is not simply whether a Raspberry Pi can open a web page. It is whether the complete setup can load the right content, stay connected, avoid interruptions, recover after a restart, and be managed safely when nobody is standing beside the screen.
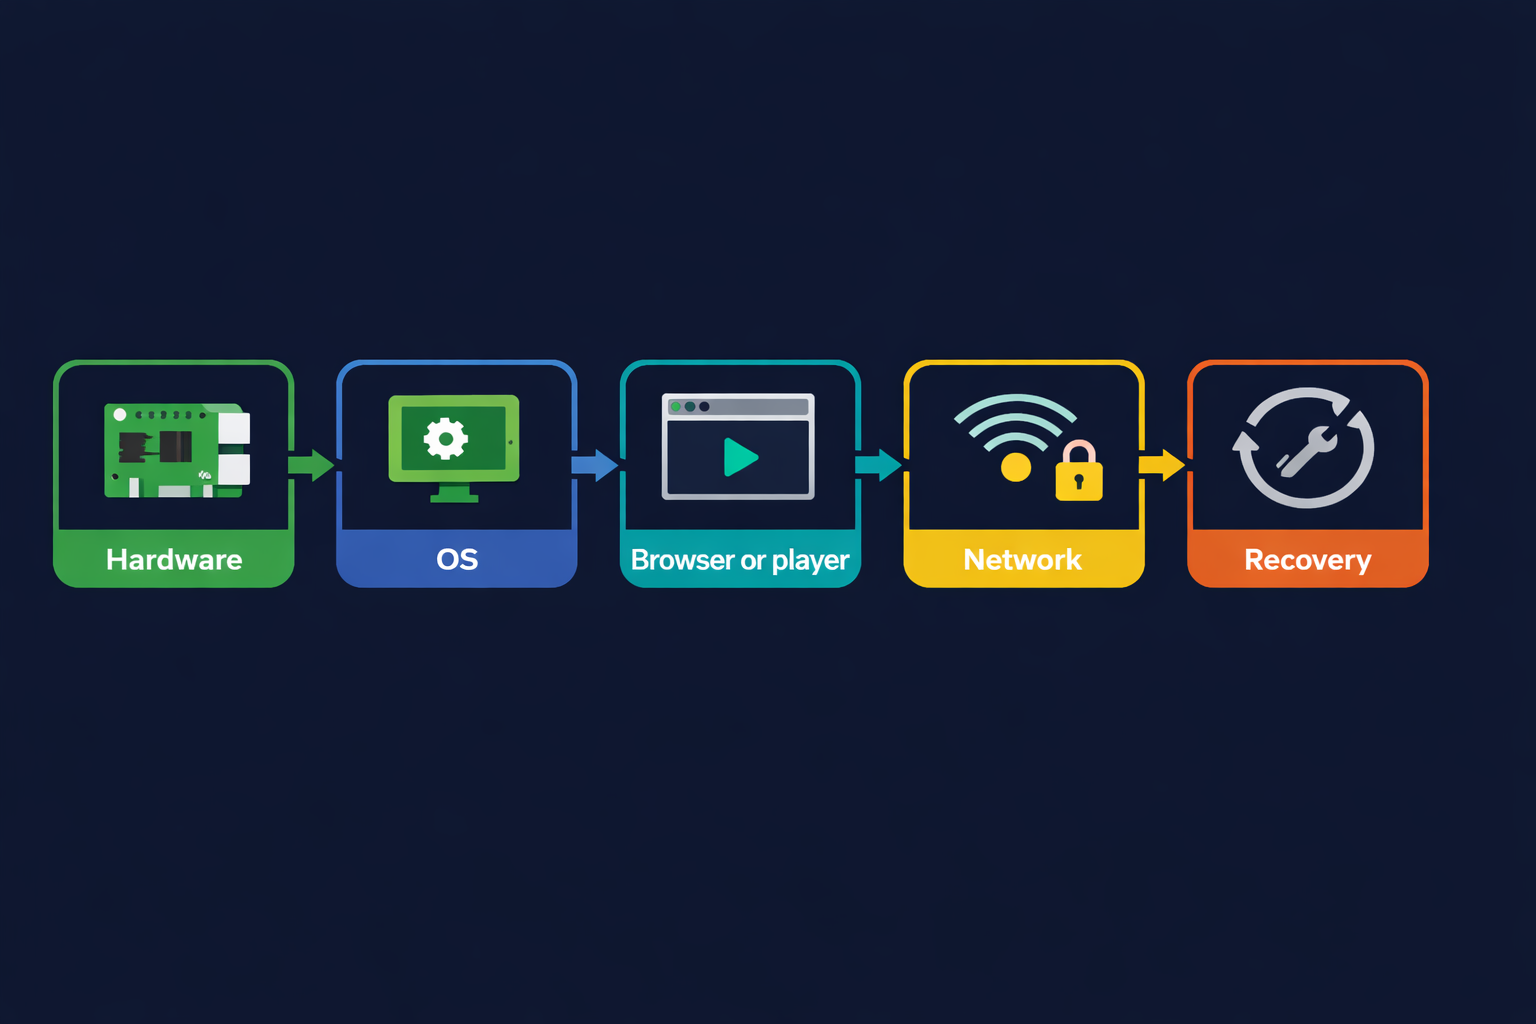
The safest approach is compatibility-first. Before buying hardware or deploying a raspberry pi dashboard display, verify the operating system, browser or player application, authentication method, network requirements, power behavior, and support from the signage platform you plan to use.
This guide explains what to check and how to structure a pilot deployment. It does not establish that Variabl officially supports Raspberry Pi; that compatibility still needs confirmation from current Variabl documentation or testing.
When Raspberry Pi is suitable for a dashboard display#
Raspberry Pi hardware may be appropriate when you need a compact player for one or a small number of screens and the content is primarily browser-based or supported by a compatible signage application. Typical use cases include:
- A monitoring dashboard in an operations area.
- A team KPI or command-center screen.
- A web-based status board.
- Rotating announcements, images, or simple signage content.
- A low-profile player mounted behind a monitor.
It is less suitable when the deployment requires demanding video processing, specialized peripherals, guaranteed enterprise support, or a player application that does not run on the chosen operating system.
A Raspberry Pi is not automatically a digital-signage solution. You still need a display, mounting method, network connection, power supply, operating environment, content source, and a recovery plan.
For display selection, viewing distance, orientation, and connectivity, start with Variabl's guide to choosing a monitor for digital signage and dashboard displays. For larger operational environments, command-center dashboard display planning can help you think through what information belongs on the screen before you configure the player.
Choose the display, connections, and mounting approach#
Begin with the screen rather than the computer. Confirm the following before selecting the Raspberry Pi configuration:
- Video connection: Check that the Pi model and the display use compatible connectors or an appropriate adapter.
- Resolution and orientation: Confirm that the dashboard remains readable at the intended viewing distance and in portrait or landscape orientation.
- Physical placement: Decide whether the player will sit behind the display, in a cabinet, or in a nearby equipment area.
- Cable access: Plan for power, video, and—if needed—wired networking without creating a trip hazard or blocking ventilation.
- Service access: Leave a practical way to reach the device if it needs maintenance, a manual restart, or a storage replacement.
A compact computer hidden behind a screen can be convenient, but it can also make troubleshooting harder. Label the device, display cable, power adapter, and network connection before installation.
Prepare the Raspberry Pi operating environment#
Use an operating system that is supported by the browser, player, or signage service you intend to run. Do not assume that a desktop operating system, a lightweight operating system, and a dedicated signage image will behave the same way.
Before configuring the screen, document:
- The operating-system version.
- The Raspberry Pi model and storage method.
- The browser or player application and its version.
- Whether the software starts automatically after boot.
- How updates are installed and rolled back.
- How you will access the device for troubleshooting.
Create a dedicated user account rather than using a personal administrator account for routine playback. Apply updates during a planned maintenance window, and keep a record of the version that worked during your pilot.
Do not install a player image or browser package just because it appears in a search result. Confirm that it comes from a trustworthy source and that its license, update process, and data-handling practices fit your organization.
Configure browser, kiosk, or player behavior#
There are three common approaches to Raspberry Pi signage:
| Approach | Best for | Main question to verify |
|---|---|---|
| Browser in kiosk mode | A web dashboard or web page | Can the browser open the page reliably and remain fullscreen? |
| Dedicated signage player | Managed playlists and screen control | Does the player officially support the Pi model and operating system? |
| Local application or custom script | A narrowly defined internal display | Who will maintain it when the page or operating system changes? |
A kiosk browser is a fullscreen browser session designed to limit normal interaction. It can be useful for a dashboard, but fullscreen alone does not guarantee unattended operation. You also need to consider startup order, failed page loads, expired sessions, pop-ups, browser updates, and unexpected prompts.
Test the actual content rather than a simplified sample page. A dashboard that works in a desktop browser may depend on features, permissions, fonts, cookies, or authentication flows that behave differently on a small device.
If you plan to use Variabl as the content-management layer, verify the supported device and playback method first. Once that has been established, Variabl's instructions for adding a web URL to a digital signage display may be relevant to the content setup.
Check network access and dashboard authentication#
A dashboard screen is only as reliable as the connection and access method behind it. Check whether the destination requires:
- A wired or wireless network connection.
- A VPN or private network route.
- A device certificate.
- Single sign-on, a one-time code, or multi-factor authentication.
- Cookies or a persistent browser session.
- IP allowlisting or an internal DNS name.
A login flow designed for a person at a keyboard may not work well on an unattended screen. Never place a personal password in a script, URL, image, or shared configuration file. Ask the dashboard owner whether a dedicated read-only account or other approved access method is available.
Also decide what the screen should show when the network is unavailable. A blank screen, an error message, or stale data can each create different operational risks. If stale information could lead to a bad decision, make the data timestamp visible and define when the screen should be treated as unavailable.
Prevent sleep, interruption, and unwanted interaction#
An unattended display needs deliberate power and interaction settings. Check the following during the pilot:
- Does the display enter standby after inactivity?
- Does the Raspberry Pi blank the screen?
- Does the screen saver cover the dashboard?
- Do notifications or update prompts appear over the content?
- Does the browser restore the dashboard after a restart?
- Can someone exit fullscreen with a keyboard or mouse?
- Does the display resume correctly after power is restored?
Disabling every security and update control is not a good substitute for configuration. Instead, use a restricted account, limit physical access, schedule maintenance, and document how authorized staff can exit the display for service.
If the screen is in a public area, consider whether USB ports, exposed cables, and accessible input devices create an avoidable tampering risk.
Test refresh, recovery, and unattended operation#
A short demonstration is not enough. Run a structured pilot before mounting the device permanently.
- Start with the Raspberry Pi powered off and confirm that it boots into the intended display behavior.
- Disconnect and restore the network to observe the failure and recovery behavior.
- Restart the device and confirm that the correct page or playlist returns without manual input.
- Leave the screen running for the length of a normal shift or longer.
- Check whether dashboard data refreshes and whether sessions expire.
- Simulate a display power cycle if the installation is connected to a switched outlet or display timer.
- Record what requires a keyboard, remote connection, or physical access.
- Repeat the test after applying the planned operating-system and application updates.
The goal is not merely to prove that the page opens. The goal is to learn whether the complete raspberry pi signage setup can recover from predictable interruptions.
Understand the limitations of a signage Pi#
A Raspberry Pi deployment can introduce maintenance responsibilities that are easy to overlook:
- Hardware and operating-system combinations may change over time.
- Browser updates can alter rendering, permissions, or kiosk behavior.
- Storage media can fail or become corrupted after an unexpected shutdown.
- Wireless connections may be less predictable than wired connections in crowded environments.
- A web dashboard may stop working when its authentication or browser requirements change.
- A community-maintained player may not provide the support or update process your organization needs.
These limitations do not make Raspberry Pi signage unsuitable. They mean that the device should be evaluated as part of an operational system, not as a standalone specification sheet.
Choose another player or request formal support when you need guaranteed compatibility, centralized device management, specialized playback, high availability, or a documented support path that the Raspberry Pi option cannot provide.
Raspberry Pi signage deployment checklist#
Before you approve the installation, confirm:
- The Raspberry Pi model and operating system are supported by the selected browser or player.
- The display resolution, orientation, connectors, and mounting position are appropriate.
- Power, ventilation, cable routing, and service access are planned.
- The dashboard or signage content loads without unsupported authentication steps.
- Network loss, expired sessions, and power restoration have been tested.
- Sleep mode, screen blanking, notifications, and update prompts are controlled.
- The device uses an appropriate restricted account.
- A recovery procedure and maintenance owner are documented.
- Variabl compatibility has been confirmed through official documentation or a controlled test before purchase or rollout.
Frequently Asked Questions#
Can I use a Raspberry Pi to display a web dashboard?#
Possibly. A Raspberry Pi can be considered for browser-based dashboard playback when the chosen operating system and browser support the dashboard's rendering, authentication, and refresh requirements. Confirm compatibility with the dashboard provider and signage platform before deployment.
Is Raspberry Pi suitable for digital signage?#
It can be suitable for lightweight or browser-based signage, depending on the content, player software, network, and support requirements. It may be a poor fit for demanding media playback or deployments that require formal device-management and support guarantees.
Can Variabl run on a Raspberry Pi?#
This article does not verify official Variabl support for Raspberry Pi. Check current Variabl documentation or contact Variabl support before treating the platform as compatible with a particular Pi model, operating system, browser, or player method.
How do I stop a Raspberry Pi signage screen from going to sleep?#
Check both the display's own standby settings and the Raspberry Pi operating system's screen-blanking or power-management settings. Test the result after rebooting, disconnecting the network, and leaving the display unattended. The exact configuration depends on the operating system and playback method.
What should I test before installing a signage Pi permanently?#
Test boot behavior, fullscreen playback, dashboard authentication, data refresh, network loss, power restoration, screen standby, session expiry, update prompts, and recovery after a restart. Also document how an authorized person can service the device.
A signage Pi can be a practical candidate when its software and operational requirements are understood. Treat compatibility as something to verify—not something to infer from the device's size or popularity—and pilot the complete screen workflow before committing to a larger rollout.